
TL;DR:
- Roof leak detection involves a systematic inspection starting in the attic to identify water stains and mold. Penetration points like chimneys and vents are common leak sources, and exterior areas should be checked with binoculars or drones for damage. Early detection through careful inspection prevents costly repairs and prolongs roof life.
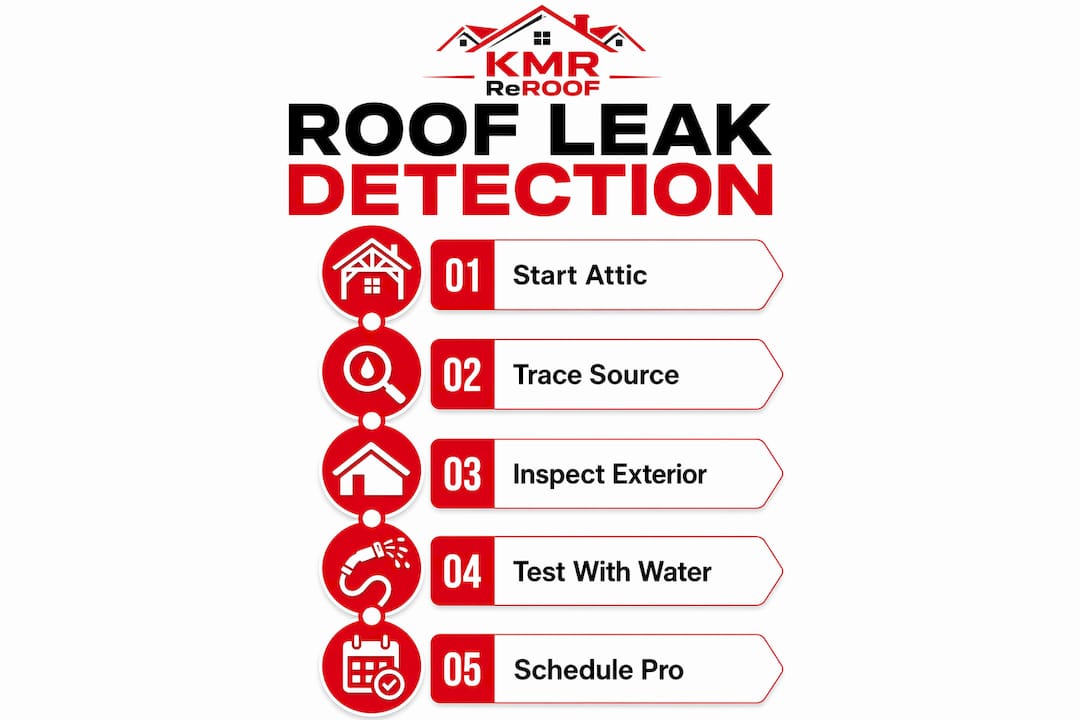
Roof leak detection steps are the systematic actions homeowners and property managers take to identify water intrusion before it causes structural damage, mold growth, or costly repairs. The industry term for this process is “roof leak inspection,” and following a structured sequence separates a quick fix from a months-long remediation project. Most residential roof leaks originate around penetration points like chimneys, skylights, plumbing vents, and roof valleys rather than from the shingle field itself. That single fact changes where you look first. Catching a leak early costs a fraction of what structural rot or black mold remediation demands, and the steps below give you a clear path from first suspicion to confirmed source.
What tools and safety precautions do you need before starting roof leak detection?
Preparation determines whether your inspection is safe and productive. Gather the right tools before you touch anything, and you will cut your inspection time in half.
Essential tools for a roof leak inspection:
- Flashlight or headlamp (for attic visibility)
- Binoculars (for ground-level exterior views)
- Garden hose with a helper available
- Measuring tape (for the attic-to-exterior transfer method)
- Camera or smartphone (for documentation)
- Notepad or inspection app
Safety is non-negotiable. CCPIA guidelines state that homeowners should avoid walking on pitched roofs due to injury risk and the potential for further damage. Ground-level observation and attic checks deliver the same diagnostic information without putting you at risk. Brittle or wet shingles can crack under foot traffic, turning a minor leak into a major repair.
Pro Tip: Start every inspection in the attic. You will find water stains, wet insulation, and mold evidence faster indoors than you will scanning a roof from the ground. Save the exterior walk-around for after you have a general sense of where the problem sits.

How do you identify interior signs of roof leaks and trace their source in the attic?
The attic is your best diagnostic tool. Water stains on rafters, wet or sagging insulation, and visible mold are the clearest signs that a leak is active or has been active recently.
Signs to look for during an attic inspection:
- Brown or yellow water stains on rafters or sheathing
- Black mold on attic rafters, which signals moisture presence for 24–48 hours or longer
- Wet, compressed, or sagging insulation (wet insulation loses R-value and accelerates structural risk)
- Daylight visible through the roof deck
- Musty odor indicating long-term moisture
Once you spot a stain, resist the urge to assume the leak is directly above it. Water follows rafters and decking horizontally before it drips, so the actual entry point can be several feet uphill from where the stain appears. This is the single most common reason homeowners apply a patch in the wrong spot.
Numbered steps for an attic inspection during or after rain:
- Enter the attic with a flashlight while rain is falling or within an hour after it stops.
- Scan all rafters and the underside of the roof deck for active dripping or fresh wet spots.
- Mark any stain or wet area with chalk or tape so you can find it again.
- Measure the distance from the stain to a fixed reference point, such as a gable wall or chimney base.
- Transfer those measurements to the exterior roof surface to narrow your search area.
The measurement transfer method narrows your exterior search to within 18–24 inches of the actual breach. That precision eliminates unnecessary shingle removal and saves time. You can learn more about checking your attic for leaks using this approach for Texas homes specifically.
Pro Tip: Before concluding you have a roof leak, check your attic ventilation. Poor ventilation causes condensation that mimics leak stains. Dry rafters with moisture only near exhaust vents point to a ventilation problem, not a roof failure.
How to safely inspect exterior roof features and penetration points
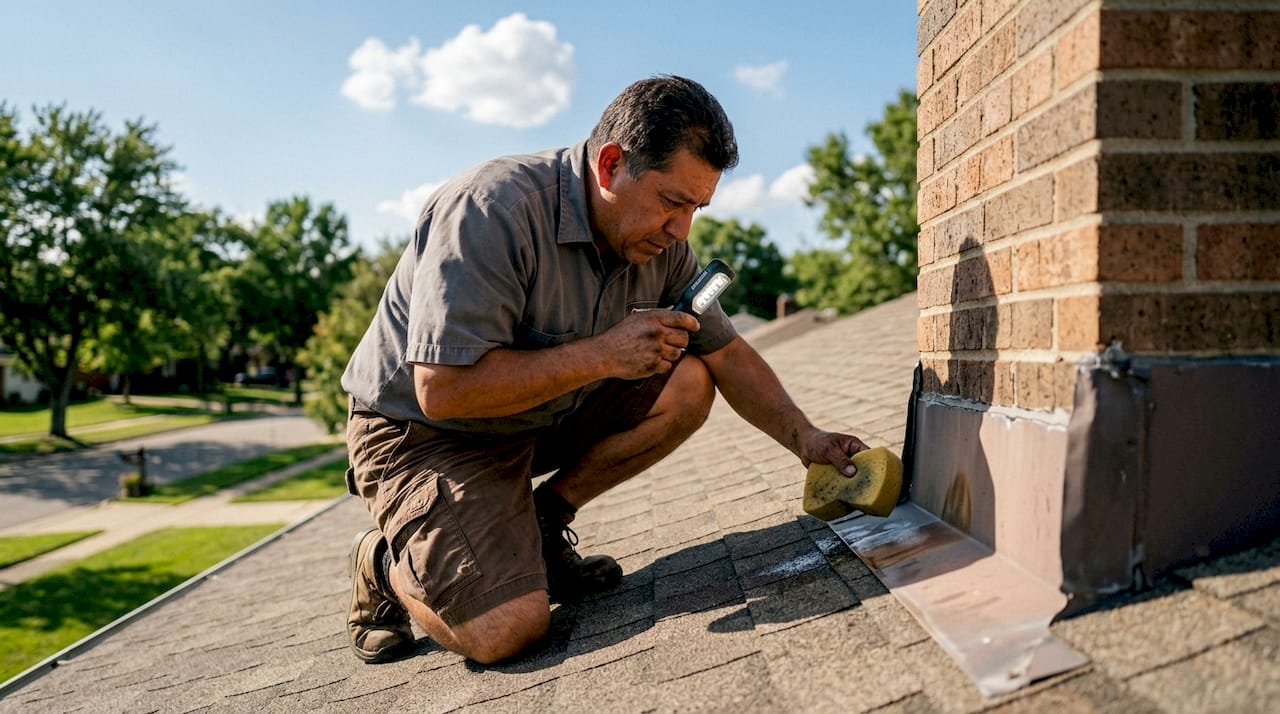
The exterior inspection focuses on the locations most likely to cause leaks: flashing around chimneys, skylights, plumbing vents, and roof valleys. These areas fail before the shingle field does, and they are where your eyes should go first.
What to look for from the ground using binoculars:
- Missing, lifted, or rusted flashing
- Cracked or dried-out sealant around pipe boots and vents
- Missing or curling shingles
- Granule loss visible in gutters (a sign asphalt shingles are nearing end of life)
- Debris buildup in roof valleys
When binoculars are not enough, drone photos give you a close-up view of the entire roof surface without anyone setting foot on it. Many property managers now use this approach as a standard part of their annual inspection routine.
Garden hose water test: step-by-step
- Position a helper inside the attic with a flashlight and a way to communicate with you outside.
- Start spraying at the lowest point of the suspected leak area and work upward in 4-foot sections.
- Hold each section for 2–3 minutes before moving higher, giving water time to penetrate any gap.
- When your helper calls out that water is appearing inside, stop and mark the exterior section you were spraying.
- Inspect that section closely for cracked sealant, lifted flashing, or damaged shingles.
The table below shows which exterior features to inspect and what failure signs to look for.
| Exterior feature | Common failure signs |
|---|---|
| Chimney flashing | Rust, gaps at the base, missing counter-flashing |
| Skylight frame | Cracked sealant, lifted edges, condensation between panes |
| Plumbing vent boots | Cracked rubber collar, missing screws, separated seam |
| Roof valleys | Debris buildup, worn or missing valley liner |
| Ridge cap shingles | Cracking, displacement after high winds |
Pro Tip: Always spray water uphill from where you suspect the leak. Water enters from above and travels down. Starting too high wastes time; starting too low gives you a false negative.
What common mistakes cause homeowners to miss roof leaks?
Misreading leak location is the most expensive mistake in the detection process. A ceiling stain directly below a bathroom does not automatically mean the roof is leaking. Interior condensation and plumbing leaks produce identical staining patterns. The key differentiator is the attic: dry rafters with moisture concentrated near exhaust fans or pipes point to a ventilation or plumbing issue, not a roof failure.
Common mistakes to avoid:
- Assuming the leak entry point is directly above the interior stain
- Walking on a pitched roof without professional equipment or training
- Patching visible damage without tracing the full water path
- Ignoring granule loss in gutters as a cosmetic issue
- Skipping the attic check and going straight to exterior repairs
“Water is patient. It will travel six feet along a rafter before it finds a gap in the vapor barrier and drips onto your ceiling. The stain you see is rarely where the water got in. Always trace backward, from the stain to the source, before you pick up a caulk gun.”
Elusive leaks, the ones that appear only during specific wind directions or heavy rain, often enter through failed step flashing along a dormer or sidewall. If the garden hose test and attic inspection both come up inconclusive, that is the moment to call a licensed roofing contractor. Professionals carry infrared moisture meters and thermal cameras that detect wet decking invisible to the naked eye.
When and why should you schedule professional roof inspections?
Professional inspections catch what homeowners miss. Scheduling inspections twice a year, in spring and fall, aligns with the damage cycles that follow freeze-thaw winters and pre-storm seasons. Proactive inspections cost significantly less than repairs involving structural rot or mold remediation.
What professional inspections add that DIY checks cannot:
- Infrared thermography to detect moisture trapped beneath the surface
- Detailed written reports with dated photos for insurance documentation
- Identification of code compliance issues that affect coverage claims
- Assessment of remaining roof life based on shingle condition and deck integrity
Post-storm inspections should happen within 48–72 hours of a major weather event. That window is when hail bruising, lifted flashing, and displaced shingles are easiest to document and photograph before secondary weather obscures the evidence. Professional inspectors document every finding with dated photos and repair notes, which directly supports insurance claims and long-term maintenance planning. For Texas homeowners dealing with roof damage after storms, that documentation record is often the difference between a paid claim and a denied one.
Key Takeaways
Systematic roof leak detection, starting in the attic and working outward to penetration points, is the most reliable way to find and fix leaks before they cause structural damage.
| Point | Details |
|---|---|
| Start in the attic | Water stains, mold, and wet insulation reveal active leaks faster than exterior scans. |
| Trace water backward | Leaks travel along rafters, so the stain is rarely directly below the entry point. |
| Focus on penetrations | Chimneys, skylights, vents, and valleys fail before the shingle field does. |
| Use the garden hose test | Spray in 4-foot sections from low to high, holding each section for 2–3 minutes. |
| Schedule twice-yearly inspections | Spring and fall professional inspections catch damage before it becomes structural. |
What I have learned from years of watching homeowners chase the wrong leak
The most common call I see goes like this: a homeowner patches a cracked shingle, the ceiling stain dries up for two weeks, and then the leak returns in the next heavy rain. The patch addressed a symptom, not the source. Nine times out of ten, the real entry point was a failed pipe boot or a gap in the step flashing three feet away.
My honest advice is to treat the attic as your primary diagnostic room, not the roof surface. Spend 20 minutes in the attic with a good flashlight after every significant rain event. Mark what you find. Photograph it. That habit alone will tell you more about your roof’s condition than any ground-level walk-around. For property managers overseeing multiple buildings, a simple dated photo log per unit pays for itself the first time an insurance adjuster asks for proof of pre-existing damage.
The other thing I would stress: do not wait for a visible ceiling stain to act. By the time water is dripping onto drywall, it has already been sitting on your roof deck long enough to start compromising the wood. Early detection is not about being cautious. It is about protecting an asset that costs tens of thousands of dollars to replace. Treat your roof leak repair process as a maintenance investment, not a crisis response.
— Misterreroof
Misterreroof is ready when your inspection reveals a bigger problem
Sometimes a thorough inspection confirms what you suspected: the leak is not a patch job. It is a sign that the roof has reached the end of its service life.

Mister Reroof serves homeowners and property managers across El Campo and Houston, TX, with professional roof replacement in metal, shingle, flat, and TPO systems. Every project starts with an honest assessment of what your roof actually needs, not a sales pitch for the most expensive option. If your inspection has turned up widespread granule loss, multiple failed penetrations, or decking damage, the Texas roof replacement guide from Misterreroof walks you through what to expect at every stage. Contact Misterreroof today to schedule a free estimate and get a clear picture of your roof’s condition.
FAQ
What are the first signs of a roof leak inside the house?
Brown or yellow water stains on ceilings, musty odors in the attic, and wet or sagging insulation are the earliest interior signs. Black mold on attic rafters signals that moisture has been present for at least 24–48 hours.
How do I find a roof leak when there is no visible damage?
Use the garden hose test: spray 4-foot sections from low to high while a helper monitors the attic. Each section needs 2–3 minutes of water exposure before you move upward to confirm or rule out that area.
Can a ceiling stain come from something other than a roof leak?
Yes. Interior condensation and plumbing leaks produce identical staining. Check the attic first: dry rafters with moisture near exhaust vents or pipes indicate a ventilation or plumbing problem, not a roof failure.
How often should a roof be professionally inspected?
Twice a year, in spring and fall, is the standard recommendation. Post-storm inspections should happen within 48–72 hours of a major weather event to document damage before conditions change.
Where do most roof leaks start?
Most leaks originate at penetration points such as chimneys, skylights, plumbing vents, and roof valleys. These areas experience more movement and weathering than the flat shingle field and should be the first areas you inspect.
