TL;DR:
- Regular biannual inspections help identify damage early and extend a commercial roof’s service life. Using advanced tools like infrared cameras and drone imaging ensures subsurface issues are detected efficiently. Proper documentation supports insurance claims and guides timely repairs, saving property owners money.
A commercial roof inspection is a systematic evaluation of a roof’s condition, integrity, and drainage performance to identify damage before it becomes a costly repair. The NRCA and IIBEC both recommend biannual inspections to comply with manufacturer warranties and protect long-term building value. Knowing how to inspect commercial roofs correctly separates property managers who catch a $500 flashing problem early from those who face a $25,000 replacement later. This guide covers the tools you need, the exact steps to follow, the most common issues to look for, and how to document everything for insurance and maintenance planning.
What tools and preparation do you need before inspecting a commercial roof?
Preparation determines whether an inspection is thorough or just a walk-around. Arriving on a roof without the right equipment puts both the inspector and the findings at risk.
Personal protective equipment
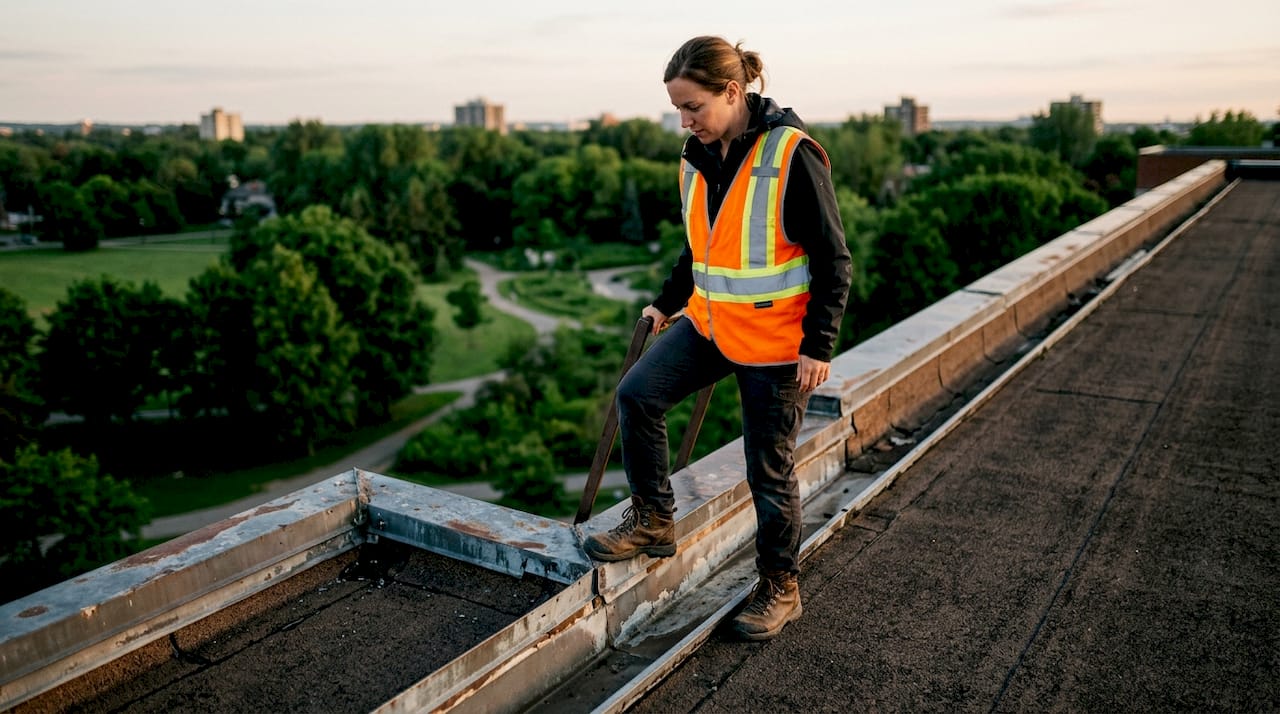
Every inspection starts with safety gear. You need a fall protection harness, non-slip rubber-soled boots, and high-visibility clothing. These are not optional on commercial roofs, where flat surfaces and parapet edges create real fall hazards.
Inspection instruments
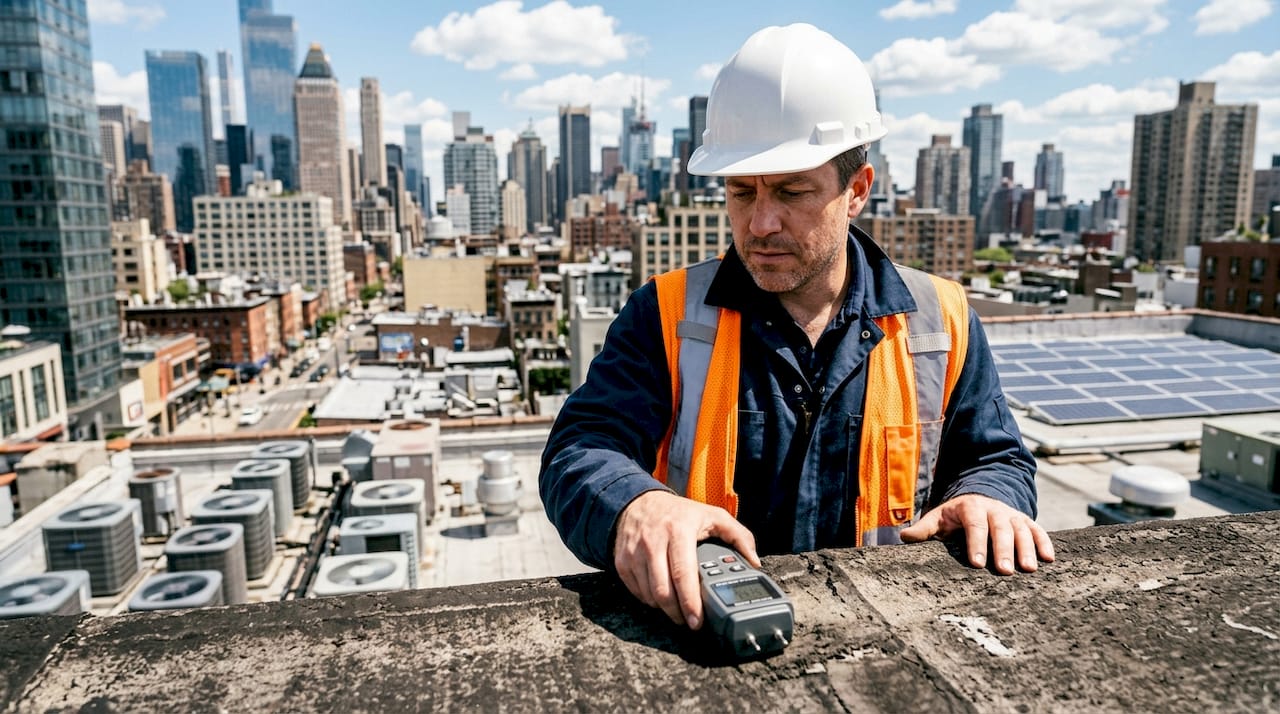
The right tools reveal what your eyes cannot see. A moisture meter detects trapped water in roofing assemblies. An infrared camera identifies wet insulation by the temperature difference it creates. A drone with a high-resolution camera covers large roof areas quickly and safely. A measuring tape and a notepad round out the basics.
Effective commercial assessments combine visual inspection, infrared thermographic scanning, core sampling, and drone imaging to detect both surface and subsurface issues. Each method catches a different category of problem, so relying on only one leaves gaps.
Document preparation
Gather the building’s roof plans, original installation records, and all past inspection reports before you set foot on the roof. These documents tell you the roof’s age, the membrane type, and where previous repairs were made. Knowing that history helps you prioritize where to look first.
Pro Tip: Schedule inspections for dry days with mild temperatures. Infrared scanning works best when there is a temperature differential between wet and dry areas, typically in the morning after a cool night.
How do you inspect a commercial roof step by step?
A systematic process prevents you from missing critical zones. Work from the ground up, then move across the roof in a consistent pattern.
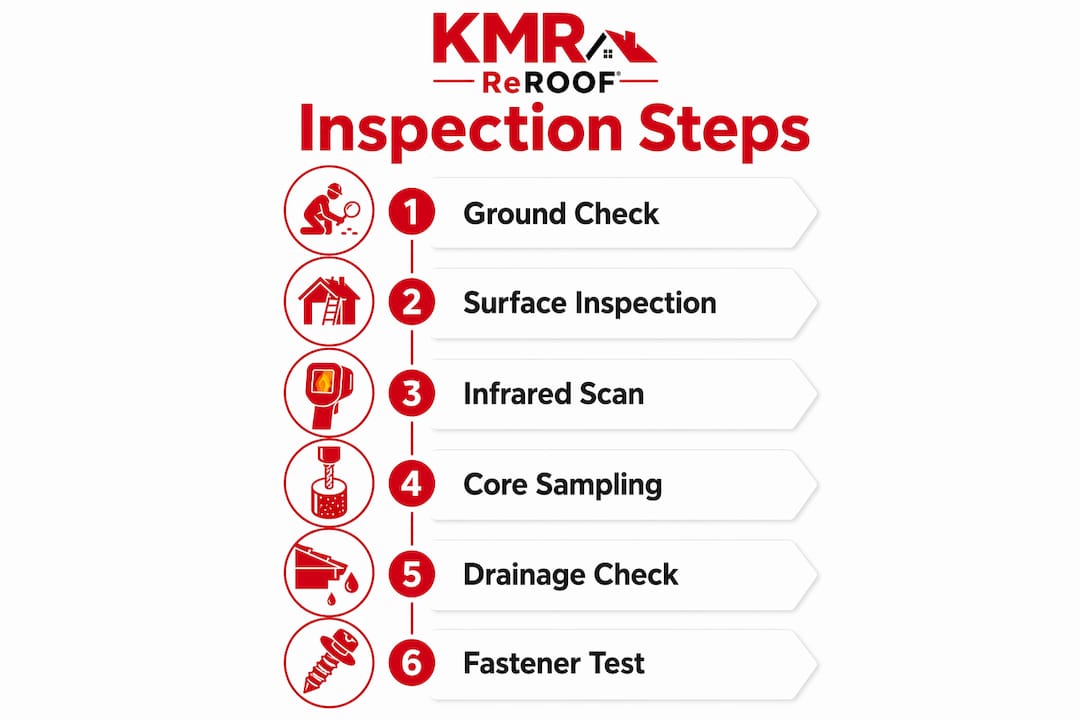
Step 1: Ground-level and perimeter observation
Start from the ground. Walk the building perimeter and look for water stains on exterior walls, displaced flashing, or debris piled against the base of the structure. These ground-level signs often point directly to the problem zone above.
Step 2: Roof surface inspection
Once on the roof, inspect the membrane surface for punctures, blistering, and cracking. Check all seams for separation or lifting. Pay close attention to flashings at walls, curbs, and equipment bases. Then move to every penetration point: HVAC units, pipes, vents, and skylights.
| Inspection Zone | What to Look For | Tool to Use |
|---|---|---|
| Membrane surface | Punctures, blistering, cracking | Visual, moisture meter |
| Seams | Separation, lifting, gaps | Visual, probe |
| Flashings and penetrations | Gaps, rust, sealant failure | Visual, infrared camera |
| Drainage systems | Clogs, standing water, damage | Visual, measuring tape |
| Fasteners | Looseness, over-tightening | Manual testing |
Step 3: Advanced diagnostic scanning
Use infrared thermography to scan the full roof surface after the ground-level and visual checks are complete. Wet insulation retains heat longer than dry insulation, and the camera shows this as a warm spot on an otherwise cool surface. Drone imaging covers large roofs faster than walking and captures angles that are difficult to reach safely.
Step 4: Core sampling
Core sampling is necessary when infrared scanning reveals a suspected wet area but you need to confirm the extent of moisture intrusion. A core sample removes a small plug of roofing material, typically 3–4 inches in diameter, to expose the insulation layers below. A qualified contractor should perform this step and patch the sample hole immediately.
Step 5: Drainage system check
Inspect gutters, scuppers, and downspouts for clogs, corrosion, and physical damage. Blocked drainage causes water to pool, and pooling water accelerates membrane deterioration faster than almost any other factor. Clear any debris and confirm that water flows freely toward every drain point.
Step 6: Fastener testing
Test roof fasteners manually. Press and wiggle each one. Over-tightened fasteners crush seals and under-tightened ones allow water intrusion. A visual check alone will not catch either problem. This step takes time but prevents leaks that are otherwise invisible until they show up on a ceiling inside the building.
Pro Tip: Photograph every defect with a timestamp and GPS tag if your phone supports it. The photo file name should include the zone, defect type, and date. This makes report writing faster and insurance documentation airtight.
What are the most common issues found during commercial roof inspections?
Most commercial roof problems fall into a predictable set of categories. Recognizing them quickly is a skill that comes from knowing what to look for and where.
Over 90% of commercial roof leaks originate at flashings and roof penetrations. That single fact should direct where you spend the most time during any inspection.
- Membrane punctures and blistering: Foot traffic, falling debris, and thermal expansion cause punctures and air pockets in the membrane. Blisters feel soft underfoot and indicate trapped moisture or air between layers.
- Seam failures: Heat-welded or adhered seams separate over time due to thermal cycling. A lifted seam edge is an active water entry point.
- Flashing leaks: Flashings at walls, curbs, and equipment bases are the highest-risk zones. Look for gaps, rust stains, and any area where the flashing has pulled away from the substrate.
- Drainage blockages: Leaves, gravel, and debris accumulate in scuppers and drains. Standing water visible 48 hours after rain confirms a drainage problem.
- Granule loss: On modified bitumen roofs, granule loss exposes the underlying asphalt to UV degradation. Bare patches appear lighter in color and feel rough.
- Fastener failures: Loose or over-tightened fasteners are invisible to the eye but detectable by hand. Test every accessible fastener in high-wind zones.
Sealant is a temporary fix, not a repair. Caulk dries and cracks within one to three seasons, leaving the same gap it was meant to close. Proper flashing repairs require mechanical solutions: new metal, proper fastening, and compatible sealant used only as a secondary measure. Property managers who accept caulk as a repair will see the same leak return within a year.
How do you maintain inspection records for long-term roof management?
Documentation is the part of commercial roof inspection that most property managers underinvest in. A thorough physical inspection with no written record is nearly worthless for insurance purposes.
Proactive maintenance combined with detailed records can extend a roof’s service life by up to 30%, avoiding replacement costs that average $15,000 to $25,000. That extension depends entirely on catching problems early and tracking them over time.
- Schedule inspections biannually, in spring and fall, to align with the NRCA and IIBEC standards and most manufacturer warranty requirements.
- Inspect within 72 hours after severe weather. Filing an inspection report after 72 hours increases the risk of insurance claim rejection or greater scrutiny. Time is a critical factor.
- Include photos, measurements, and written notes in every report. Label each photo with the zone, defect type, and date.
- Store reports digitally in a cloud-based system with version history. Physical-only records get lost in building transitions.
- Use reports to budget repairs. A report showing progressive seam separation over three inspections gives you the data to justify a repair budget before the seam fails completely.
The importance of roof inspections extends beyond physical condition. A well-documented inspection history is your strongest asset when filing an insurance claim, especially after the roof passes the midpoint of its rated lifespan. Insurers scrutinize older roofs more closely, and a clean paper trail demonstrates that the damage is storm-related, not the result of deferred maintenance.
Pro Tip: Create a master roof file for each building that includes the original installation contract, all inspection reports, repair invoices, and warranty documents. Keep it updated after every event. This file pays for itself the first time you file a claim.
Key Takeaways
A systematic inspection process combining physical checks, infrared scanning, and detailed documentation is the most effective way to protect a commercial roof and extend its service life.
| Point | Details |
|---|---|
| Inspect biannually and post-storm | Schedule spring and fall inspections, plus within 72 hours after severe weather events. |
| Prioritize flashings and penetrations | Over 90% of leaks start here, so spend the most inspection time on these zones. |
| Use advanced diagnostic tools | Infrared cameras and drone imaging detect hidden moisture that visual checks miss. |
| Test fasteners manually | Visual checks cannot identify over-tightened or loose fasteners; hand-testing is required. |
| Document everything immediately | Timestamped photos and written reports protect insurance claims and guide repair budgets. |
What experienced inspectors know that most guides leave out
Most inspection guides focus on what to look for. The harder lesson is knowing what to trust and what to question.
I have seen property managers accept a caulk bead over a flashing gap as a completed repair, only to call back six months later with a ceiling stain. Sealant fails predictably. The only reason contractors keep using it is that it is fast and cheap. If a repair proposal includes caulk as the primary solution for a flashing problem, push back and ask for a mechanical fix.
The other pattern I see repeatedly is underinvestment in tools. A moisture meter costs less than one service call. An infrared camera rental for a day costs less than one square of membrane replacement. The property managers who resist spending on diagnostics end up spending far more on repairs they did not see coming.
Post-storm timing is the issue that costs people the most money. The 72-hour window for filing inspection reports after a severe weather event is not a suggestion. Insurance adjusters are trained to question damage reports that arrive late. A roof that took a hail hit on a Tuesday needs an inspection report by Friday, not the following week when you get around to it.
The last thing I would add is this: flashings and penetrations deserve more time than the rest of the roof combined. Flashings and penetrations are the highest-priority zones during any inspection, and they are the areas most often rushed through by inspectors who are moving too fast. Slow down at every pipe boot, every HVAC curb, and every wall termination. That is where the money is.
If you want to go deeper on scheduled maintenance protocols that tie inspection findings to repair timelines, the investment in process pays off quickly.
— Results
When inspection findings point to replacement, Misterreroof is ready

A thorough inspection sometimes confirms what you suspected: the roof is past the point where repairs make financial sense. When that happens, you need a contractor who understands both the inspection findings and the replacement options available for your building type.
Mister Reroof serves property managers and building owners in El Campo and Houston, TX, with professional flat roof, TPO, metal, and shingle roof replacement services. If your inspection revealed membrane failures, widespread seam separation, or chronic drainage problems, the flat roof replacement guide for Houston walks through what to expect from the replacement process. You can also review why Texas commercial roofs benefit from TPO if your inspection results point toward a more durable membrane system. Contact Misterreroof today for a free estimate and a clear path forward.
FAQ
How often should a commercial roof be inspected?
Commercial roofs should be inspected biannually, in spring and fall, plus within 72 hours after any severe weather event such as hail or high winds. This schedule aligns with NRCA and IIBEC standards and most manufacturer warranty requirements.
What are the most important areas to check on a commercial roof?
Flashings and penetrations are the highest-priority zones because over 90% of leaks originate there. Drainage systems, seams, and fasteners are the next most critical areas.
Can I inspect a commercial roof myself?
A basic visual inspection is possible for trained maintenance staff, but advanced diagnostics like infrared thermography and core sampling require specialized equipment and expertise. A professional inspection catches subsurface moisture and fastener failures that a walk-around will miss.
How does a commercial roof inspection help with insurance claims?
A timestamped inspection report filed within 72 hours of a storm event is the strongest evidence for an insurance claim. Reports filed after that window face greater scrutiny and a higher risk of denial.
How much can regular inspections extend a commercial roof’s life?
Proactive maintenance and regular inspections can extend a commercial roof’s service life by up to 30%, which delays replacement costs that average $15,000 to $25,000.
