
TL;DR:
- Early roof issues can be identified through exterior, gutter, and attic inspections, preventing costly repairs. Using basic tools and twice-yearly routines helps homeowners detect damage like missing shingles, water stains, and moisture problems early. Precise diagnosis of leaks, condensation, or ice dam damage ensures appropriate repairs and long-term roof health.
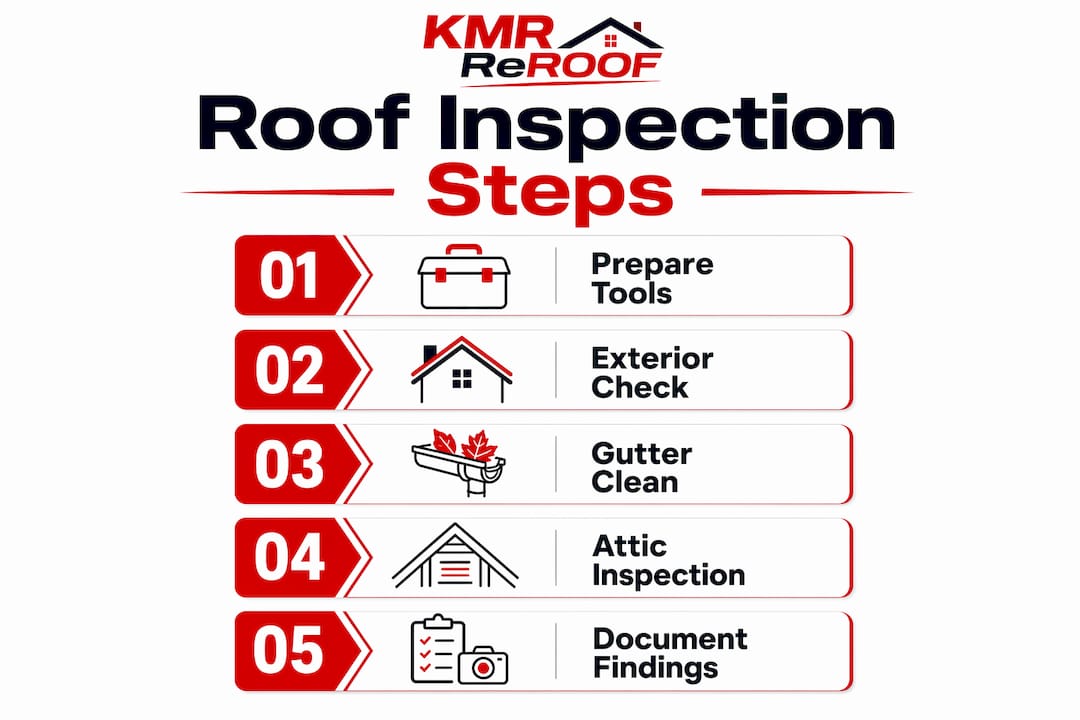
Roof damage is defined as any deterioration in shingles, flashing, decking, or attic structure that compromises your home’s weather barrier. Knowing how to identify roof issues early is the difference between a $500 repair and a $15,000 replacement. A complete inspection covers three areas: the exterior surface, the gutters, and the attic. Each zone tells a different part of the story. Tools like binoculars, a flashlight, and a camera are all you need to get started. This guide walks you through every step, from spotting missing shingles to diagnosing whether that ceiling stain is a leak, condensation, or an ice dam.
How to identify roof issues from the outside
The exterior is your first and most telling source of information. Walk the full perimeter of your home and look up at every roof plane. You do not need to climb on the roof to spot most problems.
Signs of roof damage to look for during an exterior scan:
- Missing or displaced shingles: Gaps in the shingle field expose the roof deck directly to rain and UV. Even one missing shingle creates a water entry point.
- Curling or cupping shingles: Shingles that curl upward at the edges (cupping) or buckle in the center (clawing) signal age-related wear or poor attic ventilation.
- Cracked or torn shingles: Hail, wind, and thermal cycling crack shingles over time. Cracked shingles no longer shed water reliably.
- Granule loss: Shingle granule loss appears as gritty sediment collecting in your gutters or as shiny, bald patches on the roof surface. This signals accelerated aging and means the shingles have lost their UV protection layer.
- Damaged or missing flashing: Flashing seals the joints around chimneys, skylights, and vents. Rusted, bent, or missing flashing is one of the most common entry points for water.
- Sagging sections: Any area of the roof that dips or appears uneven points to compromised decking or structural damage underneath.
- Ice dams in winter: Ice dam indicators include heavy ice buildup along the eaves, large icicles, and water stains on exterior walls near the roofline.
Gutter inspection is part of every exterior check. Clogged gutters cause water to pool and back up under shingles. Look for granule deposits in the gutter trough, which confirm shingle wear. Also check for gutters pulling away from the fascia board, which signals water damage behind the gutter.
Pro Tip: Use binoculars from ground level to examine ridge caps, flashing seams, and shingle edges without climbing a ladder. A thorough exterior scan with binoculars catches 80% of visible defects safely.

How can attic inspections reveal hidden roof issues?
The attic is where early roof problems show up before they reach your ceiling. Most homeowners skip this step entirely. That is a costly mistake.
Early roof leaks often appear first as musty smells, slight wood discoloration, damp insulation, and nail pops with dark staining. These signs precede visible ceiling stains by weeks or months. Catching them early cuts repair costs significantly.
Follow these steps for a complete attic inspection:
- Check for odors first. A musty or mildew smell when you open the attic hatch is a strong indicator of moisture intrusion or mold growth.
- Use the daylight method. Turn off all attic lights on a bright day and let your eyes adjust. Any visible light beams through the roof deck indicate gaps large enough for water to enter.
- Inspect the sheathing. Look for dark staining, soft spots, or areas where the wood feels spongy underfoot. These are signs of prolonged moisture exposure.
- Check insulation. Damp or compressed insulation loses its thermal value and traps moisture against the wood structure.
- Look for rusted nails or metal components. Rust on roofing nails or metal straps signals repeated moisture contact.
- Photograph every finding. Note the exact location relative to a known reference point, such as the chimney or a specific rafter bay.
| Attic Sign | What It Indicates | Urgency |
|---|---|---|
| Musty odor | Moisture or mold present | High |
| Daylight gaps in deck | Open penetrations for water | High |
| Dark staining on rafters | Past or active leak | Medium |
| Damp insulation | Water intrusion or condensation | Medium |
| Rusted nails | Repeated moisture exposure | Low to Medium |
Pro Tip: Bring a camera or use your phone to document every abnormality. Photographic documentation with location notes streamlines repair quotes and supports insurance claims.
Many indoor moisture symptoms that look like roof leaks actually originate from ventilation or plumbing issues. Confirming the moisture pathway in the attic before calling a roofer saves you from misdiagnosed repairs.
What tools and routines keep your roof healthy year-round?
A solid roof maintenance checklist does not require expensive equipment. The right tools and a consistent schedule are what separate homeowners who catch problems early from those who face emergency replacements.
Essential tools for roof inspection:
- Binoculars (for safe ground-level exterior scanning)
- Flashlight or headlamp (for attic work)
- Digital camera or smartphone (for documentation)
- Sturdy ladder with stabilizer feet (for gutter access)
- Moisture meter (optional but useful for confirming damp insulation)
Inspection frequency matters as much as the inspection itself. GAF’s maintenance guidance recommends inspecting at least twice yearly, ideally in spring and fall, plus after any severe weather event. That schedule catches seasonal damage before it compounds.
| Inspection Type | Timing | Primary Focus |
|---|---|---|
| Spring inspection | After winter freeze-thaw cycles | Ice dam damage, flashing shifts, granule loss |
| Fall inspection | Before winter weather arrives | Shingle condition, gutter clearing, attic prep |
| Post-storm inspection | Within 48 hours of severe weather | Missing shingles, debris impact, flashing displacement |
| Annual professional review | Every 1–3 years | Full structural and warranty compliance check |
Keeping written records of every inspection protects your warranty and strengthens any future insurance claim. Routine inspection records also give contractors a clear history of your roof’s condition, which reduces ambiguity in repair estimates. For Houston homeowners, the roof maintenance tips specific to the Texas climate are worth reviewing before your next inspection.
How to distinguish roof leaks, condensation, and ice dam damage
Moisture in your attic or on your ceiling does not automatically mean your roof is leaking. Misdiagnosing the source leads to repairs that solve nothing.
Roof leaks correlate directly with rainfall. The wet spot appears near a roof penetration, such as a chimney, vent pipe, or skylight, and follows a defined path downward. The moisture shows up during or shortly after rain and dries between storms.
Condensation is widespread and diffuse. Condensation mimics leaks with general dampness that follows temperature shifts rather than rain events. It worsens after cold, dry nights when warm interior air hits a cold roof deck. The moisture is spread across a large area rather than concentrated near a penetration.
Ice dam damage is a winter-specific problem. Ice dams cause water backup under shingles when melting snow refreezes at the cold eave overhang. Signs include heavy ice buildup at the eaves, large icicles, and water stains that appear on interior walls or ceilings near the exterior wall line, not near roof penetrations.
Differentiating roof leaks from condensation requires evaluating moisture timing, distribution pattern, and attic airflow conditions. This is a diagnostic skill that many contractors get wrong on the first visit. If you track when the moisture appears and where it concentrates, you give any professional a much clearer picture to work from.
Each condition requires a different fix. A true leak needs targeted repair at the penetration or flashing. Condensation requires improved attic ventilation or vapor barrier upgrades. Ice dams call for better insulation at the attic floor and sometimes heat cable installation at the eave.
What are the practical steps for a thorough roof inspection?
A structured workflow prevents you from missing critical areas. Follow these steps in order for a complete inspection.
- Exterior perimeter scan. Walk all four sides of the home. Use binoculars to examine the ridge, field shingles, and flashing. Note any damaged areas with a rough location description.
- Gutter inspection and cleaning. Remove debris and check for granule deposits in the trough. Granules in gutters confirm shingle wear. Check that gutters drain freely and are secured to the fascia.
- Attic inspection. Use the daylight method and a flashlight to check sheathing, insulation, and ventilation. Look for staining, soft wood, rust, and odors.
- Photograph every defect. Photograph each issue with a clear location reference. Multiple angles help contractors assess scope without an initial site visit.
- Summarize findings by severity. Group issues into three categories: immediate repair needed, monitor closely, and routine maintenance. This prioritization helps you schedule professional evaluation efficiently.
Common mistakes to avoid during inspection:
- Walking on the roof without proper footwear or safety equipment
- Inspecting only after visible ceiling damage appears (too late for early intervention)
- Skipping the attic because it seems fine from below
- Failing to document findings before calling a contractor
Regular roof maintenance paired with this inspection workflow gives Texas homeowners the best chance of catching problems before they become structural failures.
Key takeaways
Identifying roof issues early requires a systematic inspection of the exterior, gutters, and attic, combined with consistent documentation and a twice-yearly schedule.
| Point | Details |
|---|---|
| Exterior signs come first | Check shingles, flashing, and gutters from ground level using binoculars before anything else. |
| Attic inspection reveals hidden damage | Musty odors, daylight gaps, and damp insulation signal leaks before ceiling stains appear. |
| Moisture diagnosis requires precision | Distinguish leaks, condensation, and ice dams by timing, location, and pattern, not just appearance. |
| Inspect twice yearly plus post-storm | Spring, fall, and post-storm checks catch seasonal damage before it compounds into major repairs. |
| Documentation protects your investment | Photos with location notes support insurance claims, contractor estimates, and warranty compliance. |
What i’ve learned after years of watching homeowners miss the same signs
The most expensive roof replacements I’ve seen were not caused by catastrophic storms. They were caused by small, ignored problems that compounded over two or three years. A missing flashing seal here, a few granule-bare shingles there, and suddenly the decking is rotted through.
The homeowners who avoid those outcomes share one habit: they inspect consistently and document everything. They do not wait for a ceiling stain to act. They check the attic twice a year and keep a simple photo log on their phone.
The other thing I’ve noticed is that most people misread moisture. They see dampness in the attic after a cold night and assume the roof is leaking. Half the time it is condensation from poor ventilation. Getting that diagnosis wrong means paying for a roof repair that does nothing. Track when the moisture appears. If it shows up after cold nights without rain, ventilation is your problem, not your shingles.
Work with certified contractors who ask you for your inspection records before they quote. A contractor who wants your photo documentation and inspection history is one who will give you an accurate estimate. One who skips that step is guessing.
The checklist in this article is not complicated. It takes about 90 minutes twice a year. That 90 minutes is the cheapest roof insurance you can buy.
— Results
How Misterreroof helps texas homeowners protect their roofs
Once you complete your inspection and identify potential problems, the next step is a professional evaluation. DIY inspections tell you where to look. A licensed contractor tells you what it costs and how serious it is.

Misterreroof serves homeowners and property managers across El Campo and Houston, TX, with expert roof replacement services built for Texas weather. Whether your inspection turned up damaged shingles, failing flashing, or signs of deeper structural wear, Misterreroof provides clear assessments and durable solutions. Their team handles shingle, metal, flat, and TPO replacements with the kind of detail that protects your property for decades. Schedule a free estimate and get a professional set of eyes on what your inspection uncovered.
FAQ
What are the first signs of roof damage to look for?
The first signs of roof damage include missing or curling shingles, granule deposits in gutters, and rusted or displaced flashing around chimneys and vents. Inside, musty attic odors and slight wood discoloration often appear before any ceiling stain becomes visible.
How often should i inspect my roof?
Inspect your roof at least twice yearly, in spring and fall, plus within 48 hours after any severe weather event. GAF’s maintenance guidance confirms this schedule supports both early detection and warranty compliance.
How do i tell the difference between a roof leak and condensation?
A roof leak correlates with rainfall and concentrates near a penetration like a vent or chimney. Condensation is diffuse, spreads across a wide area, and worsens after cold nights regardless of rain.
Can i inspect my roof without climbing on it?
Yes. Binoculars from ground level, combined with an attic inspection using a flashlight, cover the majority of detectable roof defects without requiring you to walk on the roof surface.
When should i call a professional instead of handling it myself?
Call a professional when you find sagging sections, daylight gaps in the roof deck, widespread granule loss, or any active water intrusion in the attic. These conditions require repair assessment beyond what a homeowner inspection can resolve.
