TL;DR:
- Planning a Texas roof upgrade involves careful assessment, material selection, contractor verification, permitting, and inspections. Homeowners must verify contractor insurance and ensure permit and inspection steps are completed before final payment. Proper planning saves costs, ensures code compliance, and protects your insurance and investment.
The roof upgrade planning process is a structured series of steps that takes you from initial inspection through final permit approval, and every Texas homeowner or property manager should follow it to avoid costly mistakes. Texas adds layers of complexity that most generic guides ignore: Gulf Coast windstorm zones, percentage-based insurance deductibles, and a state with no roofing license requirement. Getting this right protects your investment, keeps your insurance valid, and keeps your project on schedule. This guide covers every phase, from assessing your current roof to signing off on the final municipal inspection.
What are the essential steps in the roof upgrade planning process?
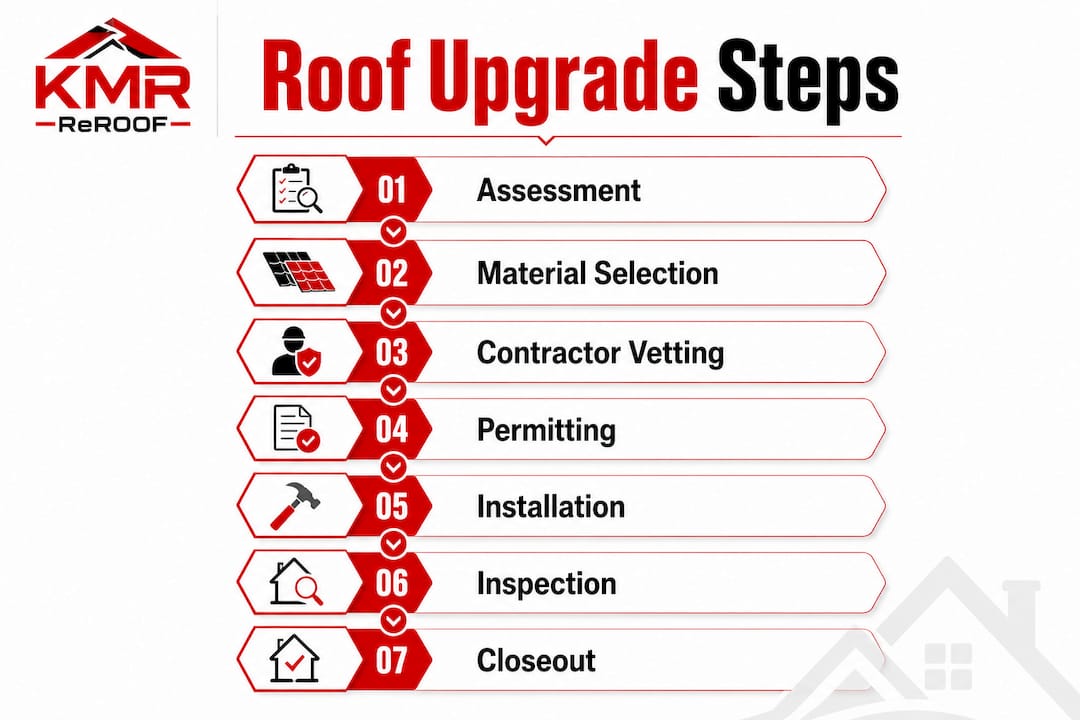
A successful roof replacement follows a clear sequence. Skipping steps, especially early ones, creates problems that show up late in the project when they are expensive to fix.
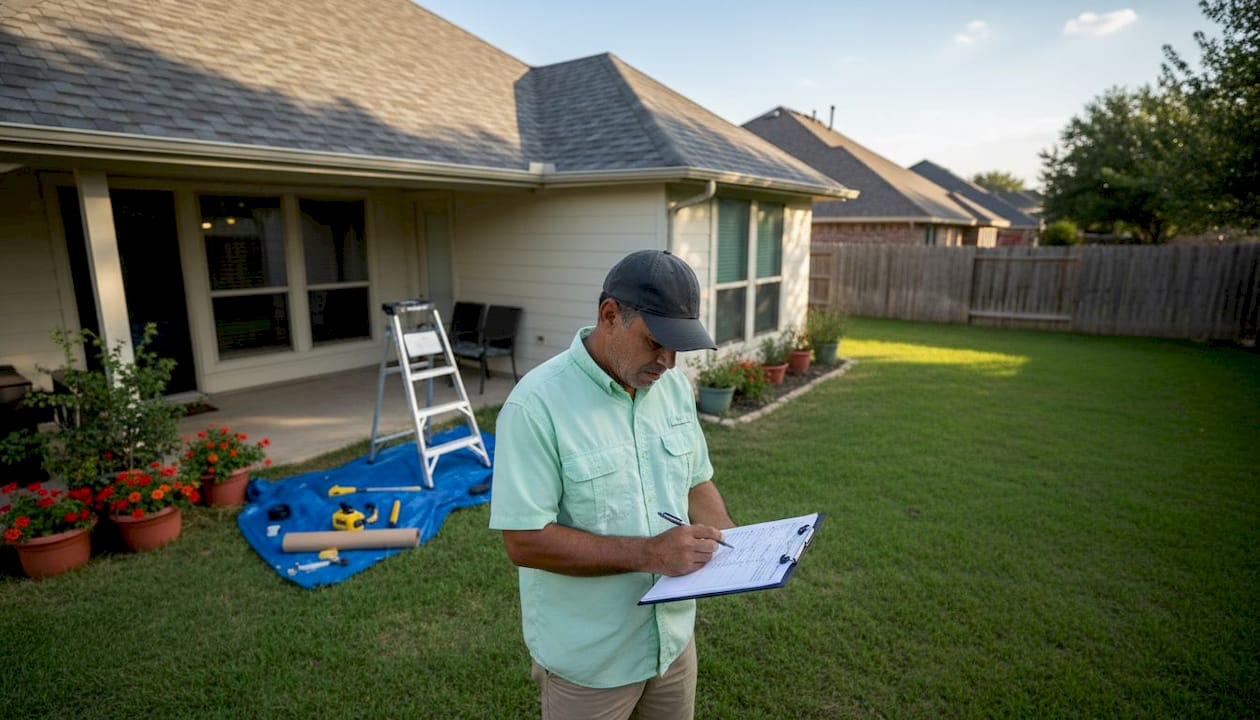
- Initial roof assessment. Start with a visual inspection from the ground. Look for missing shingles, sagging areas, granule loss in gutters, and daylight visible from the attic. Then hire a licensed inspector or roofing contractor for a professional evaluation. A professional assessment identifies hidden decking damage that a ground-level look will miss.
- Repair vs. replace decision. If your roof is under 15 years old with isolated damage, repair may be sufficient. If it is over 20 years old or has widespread failure, replacement is the right call. Use the age and damage scope together to make this decision, not one factor alone.
- Get multiple quotes. Collect at least three written estimates. Each quote should itemize labor, materials, disposal, and permit fees separately. Comparing itemized quotes is the only reliable way to spot overcharges or missing scope items.
- Select your materials. Choose materials suited to your Texas climate zone and insurance situation. Architectural shingles are the most common choice, while impact-resistant Class 4 shingles deliver measurable insurance savings in hail-prone areas. Metal and TPO options suit specific roof types and budgets.
- Sign a detailed contract and apply for permits. Most Texas cities require building permits for roof replacement, with fees typically ranging from $50 to $300. Houston permits run $75–$250, Dallas $100–$300, and San Antonio $50–$200. Your contractor should handle the permit application, but you should confirm it is filed before work begins.
- Schedule and execute installation. A standard installation on a 2,200 sq ft home takes 2–4 days of active work, though the full project timeline including permits and inspections spans 2–6 weeks. Plan accordingly.
- Post-installation inspection and permit closeout. The municipal inspector verifies code compliance before the permit closes. Your contractor must schedule this inspection and correct any failures at no cost to you.
Pro Tip: Ask your contractor for a copy of the filed permit before the first nail goes in. If they cannot produce it, the work may not be legal, and your insurance claim could be denied.
| Phase | Key action |
|---|---|
| Assessment | Professional inspection to identify hidden decking issues |
| Material selection | Match material to climate zone and insurance class |
| Permitting | Confirm permit filed before installation starts |
| Installation | Verify tear-off, underlayment, and flashing daily |
| Final inspection | Municipal sign-off required before final payment |
How do Texas climate and insurance factors shape your planning?
Texas is not one climate. It is several, and each one changes your material choices, your insurance costs, and your project timeline.

Hail-prone regions cover most of North and Central Texas. In these areas, Class 4 impact-resistant shingles carry a 15–25% higher upfront cost but reduce annual insurance premiums by 10–35%. They typically pay for themselves within 3–5 years through premium reductions alone. That math makes them the financially sound choice for most Dallas, Fort Worth, and San Antonio homeowners.
Gulf Coast windstorm zones add a different layer of requirements. Properties insured through the Texas Windstorm Insurance Association (TWIA) must meet Texas Department of Insurance (TDI) building codes, with enhanced installation steps that add $1,000–$3,000 to project costs. These requirements cover specific fastener patterns, underlayment types, and post-installation inspections that validate insurance coverage. Skipping them does not just risk a failed inspection. It can void your windstorm coverage entirely.
Summer heat creates a workforce and quality issue. Shingle adhesion and installer performance both suffer in extreme heat. Scheduling work in late summer or fall reduces both risks.
Scheduling roof work in spring or fall is the optimal timing for Texas homeowners. Spring and fall avoid summer heat risks and the peak of hurricane season, which runs june through november. Contractors are more available, material lead times are shorter, and installation quality is higher when crews are not working in 100-degree heat.
Homeowners insurance windstorm deductibles in Texas are typically 1–2% of dwelling value, not a flat dollar amount. On a $300,000 home, that means your out-of-pocket deductible for a wind or hail claim runs $3,000–$6,000. Knowing this number before you plan your budget prevents a painful surprise when the claim check arrives.
- Verify whether your county falls under TWIA jurisdiction before selecting materials or a contractor.
- Ask your insurance agent whether Class 4 shingles qualify for a premium discount on your specific policy.
- Check whether your municipality requires a TDI-compliant installation method, since this affects both contractor selection and contract scope.
- Factor your windstorm deductible into your total budget, not just the contractor quote.
What should you look for when vetting a roofing contractor in Texas?
Texas has no statewide roofing license. That single fact puts the full burden of contractor verification on you. Homeowners bear full responsibility for vetting contractors because the state provides no licensing filter. This is not a minor inconvenience. It is a real financial risk.
Here is what to verify before signing anything:
- Local registration and permits. Confirm the contractor is registered with your city or county and can pull permits in your jurisdiction. A contractor who asks you to pull your own permit is a red flag.
- General liability insurance. Minimum coverage should be $1 million per occurrence and $2 million aggregate. Workers compensation coverage of at least $500,000 is also recommended.
- Certificate of Insurance verification. A Certificate of Insurance can be expired or forged. Always verify coverage by calling the insurer directly using the phone number printed on the certificate, not a number the contractor provides.
- Manufacturer certifications. Certifications from manufacturers like GAF or Owens Corning indicate training and quality standards. They also often unlock extended warranty options.
- Payment schedule. Safe payment terms cap the upfront deposit at no more than 33%, with subsequent payments tied to material delivery and project completion. Pay by credit card or check to maintain a paper trail.
- Written contract scope. A solid contract includes itemized materials and labor, payment milestones, change order procedures, warranty terms, and a dispute resolution clause aligned with the Texas Deceptive Trade Practices Act (DTPA).
Pro Tip: Storm chasers, contractors who appear door-to-door after a hail event, often carry unverifiable insurance and disappear after collecting a deposit. Always initiate contractor contact yourself through referrals or verified directories.
For a detailed contractor vetting checklist, Misterreroof’s guide on choosing a reliable roofer in Texas covers every verification step with specific questions to ask.
How should you prepare your home before, during, and after the replacement?
Preparation reduces disruption and protects your property. Most homeowners underestimate how much active management a roof replacement requires.
- Before installation. Move vehicles out of the driveway and away from the house. Clear the attic of stored items, since vibration from tear-off can knock things over. Notify neighbors, since the work is loud and lasts multiple days. Confirm the permit is posted visibly at the property before crews arrive.
- During installation. Check daily that the crew is following the correct sequence: full tear-off of old material, inspection of decking, underlayment installation, then shingles or membrane. Unexpected decking damage discovered during tear-off is common. Your contract should specify per-sheet pricing for decking replacement so there are no disputes when this happens.
- Post-installation inspection. Walk the perimeter with your contractor and check flashing at chimneys, vents, and valleys. Inspect gutters for granule buildup. Check the attic for daylight gaps or moisture. The municipal final inspection is mandatory and verifies code compliance. Do not make final payment until the inspector signs off.
- Cleanup and documentation. A magnet sweep for nails is one of the most overlooked steps in roof replacement. Confirm it is done before the crew leaves. Photograph the completed roof, collect your warranty documents, and keep a copy of the closed permit for your property records.
Pro Tip: Withhold the final payment until you have the municipal inspection sign-off in hand. This is your strongest leverage point for getting any punch-list items corrected.
Key Takeaways
A well-executed roof upgrade in Texas requires matching your material choice to your climate zone, verifying contractor credentials independently, and completing every permit and inspection step before releasing final payment.
| Point | Details |
|---|---|
| Follow a structured sequence | Move from assessment to permit closeout without skipping steps to avoid costly late-stage problems. |
| Match materials to your climate zone | Class 4 shingles save 10–35% on insurance premiums in hail-prone Texas regions. |
| Verify contractor insurance independently | Call the insurer directly using the COI phone number to confirm coverage is active. |
| Know your windstorm deductible | A 1–2% deductible on a $300,000 home means $3,000–$6,000 out of pocket before insurance pays. |
| Withhold final payment until inspection passes | Municipal sign-off is your proof of code compliance and activates your warranty. |
What Texas roofing has taught me about planning
The single biggest mistake I see Texas homeowners make is treating contractor selection as the last step instead of the first. By the time most people start vetting contractors, they have already committed to a timeline, a budget, and sometimes even a material. That order is backwards.
Texas’s unlicensed contractor environment means the market has no floor. A legitimate, insured crew and a storm chaser with a pickup truck look identical on a flyer. The difference shows up in the contract language, the insurance certificate, and whether they pull a permit. Those three things filter out the bad actors before a single shingle is touched.
Seasonal timing is also undervalued. I have watched homeowners rush a replacement in july because a storm hit in june, and the result is rushed crews, adhesive that does not cure properly in the heat, and a project that costs more because every contractor in the region is booked. Spring and fall replacements consistently produce better outcomes at lower cost.
Finally, documentation is not paperwork. It is protection. A closed permit, a dated photo record, and a manufacturer warranty in your name are what stand between you and a denied insurance claim or a disputed home sale five years from now. Treat them as part of the project, not an afterthought.
— Results
Misterreroof makes your Texas roof upgrade straightforward
Planning a roof replacement in Texas involves permits, insurance coordination, contractor vetting, and material decisions that all interact with each other. Misterreroof handles the complexity so you do not have to manage it alone.
Mister Reroof serves homeowners and property managers in Houston, El Campo, and surrounding Texas communities with professional shingle, metal, flat, and TPO roof replacements. Every project includes verified insurance, local permit handling, and post-installation documentation. Whether you are starting with a Texas roof replacement guide or ready to schedule an estimate, Misterreroof delivers workmanship built for Texas weather. Contact Misterreroof today for a free estimate and get your project moving on the right timeline.
FAQ
What does the roof upgrade planning process involve?
The roof upgrade planning process covers assessment, material selection, contractor vetting, permitting, installation, and final inspection. Each step builds on the previous one, and skipping any phase creates compliance or quality problems.
How much does a roof replacement cost in Texas?
Roof replacement in Texas typically ranges from $7,500 to $40,000 depending on roof size, materials, and location. A standard 2,200 sq ft home with architectural shingles runs $8,000–$15,000.
Do I need a permit for a roof replacement in Texas?
Most Texas cities require a building permit for roof replacement. Permit fees range from $50 to $300 depending on the municipality, and your contractor should file the application before work begins.
Are Class 4 shingles worth the extra cost in Texas?
Class 4 impact-resistant shingles cost 15–25% more upfront but reduce insurance premiums by 10–35% annually in hail-prone areas. They typically pay for themselves within 3–5 years.
How do I verify a roofing contractor’s insurance in Texas?
Request the contractor’s Certificate of Insurance, then call the insurer directly using the phone number printed on the certificate. This confirms the policy is active and not expired or forged.
