TL;DR:
- A storm damage roof workflow is a structured process property owners must follow to ensure safe repairs, accurate damage documentation, and smooth insurance claims. Proper documentation, timely claim filing, and correct repair decisions are essential to prevent delays and disputes. Following safety, detailed inspections, and coordinated adjustments help property managers secure optimal recovery outcomes.
A storm damage roof workflow is the structured, phase-by-phase process that property managers and homeowners must follow to restore a roof safely, document damage accurately, and support insurance claims after severe weather. Skipping steps or rushing repairs is the most common mistake that delays settlements and leads to premature claim closures. This guide covers every phase of the roof storm damage repair process, from the first minutes after a storm to the final decision between targeted repair and full replacement, using 2026 best practices built for Texas weather conditions.
What is the storm damage roof workflow, and why does it matter?
A storm damage roof workflow is not just a repair checklist. It is a documented, repeatable process that protects both your property and your insurance claim. Standard claims resolve in 30–90 days for straightforward cases, but disputed or supplemented claims can stretch to six months or longer. That gap almost always traces back to weak documentation or missteps in the early workflow phases.
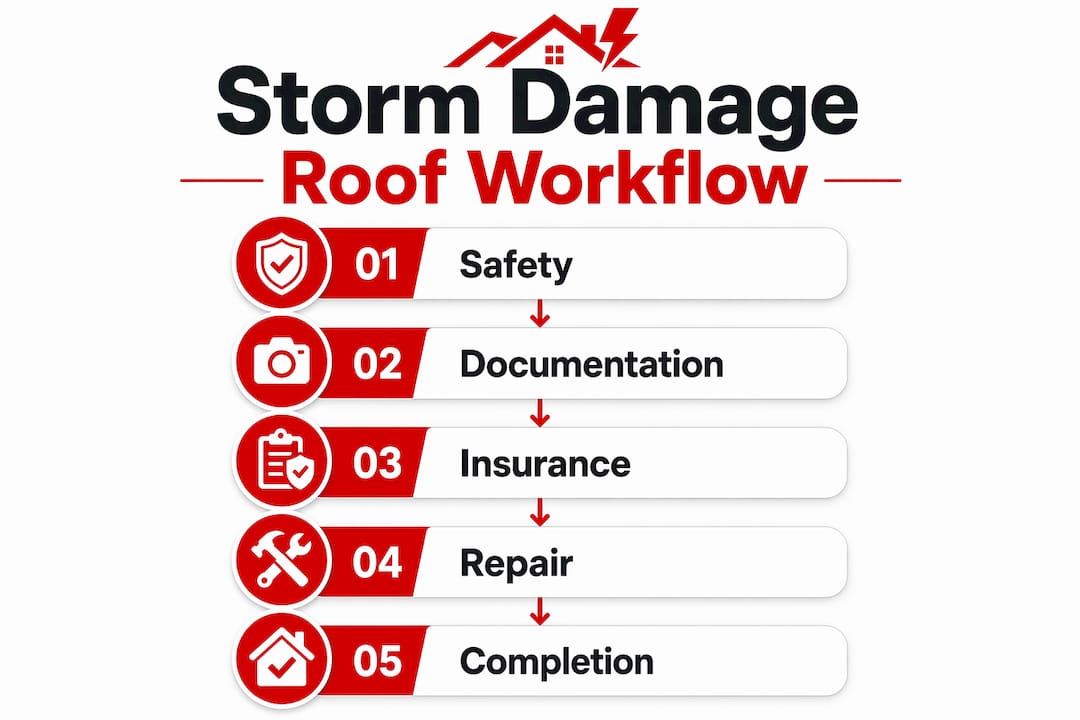
The workflow divides into four core phases: emergency stabilization, damage documentation, insurance claim filing, and repair or replacement execution. Each phase feeds the next. A rushed stabilization phase, for example, produces incomplete photos that weaken your claim package. Property managers overseeing multiple buildings face an added layer of complexity because inconsistent documentation across units creates decision delays that cost time and money.
The industry term for this process is “post-storm roof restoration workflow,” though “storm damage roof workflow” is the phrase most homeowners and property managers use when searching for guidance. Both terms describe the same structured sequence.
What safety and immediate actions should you take after storm damage?
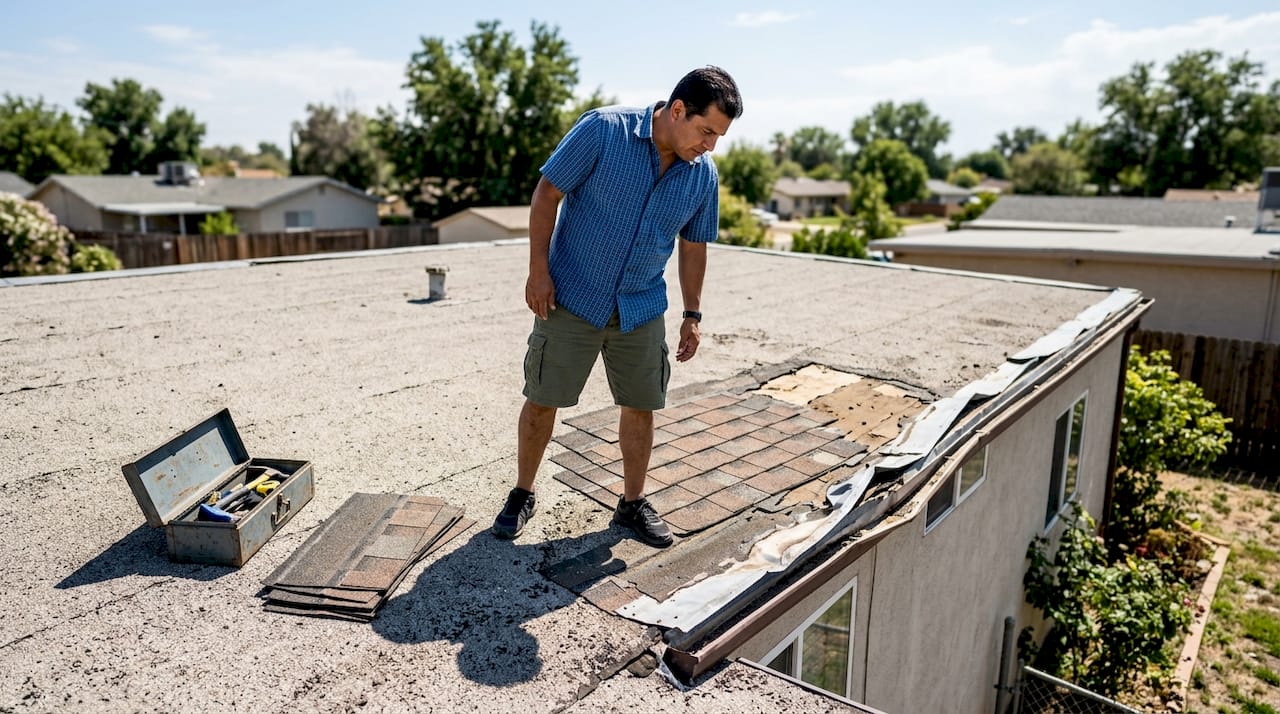
Personal safety is the first priority, and no repair task overrides it. Downed power lines, saturated ceilings, and structurally weakened decking create hazards that are not visible from the ground. Stay out of rooms with sagging ceilings, and do not climb onto the roof yourself until a licensed contractor confirms it is structurally sound.
The first workflow step is emergency water mitigation, not permanent repair. Contain active leaks with buckets and plastic sheeting indoors. Outdoors, a qualified contractor can deploy emergency tarping to stop water intrusion. Commercial-grade tarping uses 20-mil reinforced tarps, weighted and tied down to withstand subsequent storms. Residential applications follow the same principle: the tarp must be secured, not just draped.
“A clear, non-panicked workflow that prioritizes safety and emergency mitigation before permanent repairs leads to better repair and claim outcomes. Rushing straight to repairs without documentation is the single most preventable mistake homeowners make.”
Pro Tip: Take photos and short video clips of every interior leak point before placing buckets or plastic sheeting. Insurers need to see the damage as it existed, not after you have already contained it.
- Stay out of structurally compromised rooms.
- Call a licensed contractor for emergency tarping before any roof access.
- Document all interior water intrusion with time-stamped photos.
- Separate emergency stabilization work from permanent repair scope in writing.
- Notify your insurer within 48–72 hours of the storm event.
The critical distinction here is that emergency stabilization and permanent repair are two separate scopes of work. Mixing them creates ambiguity in your claim and can give an insurer grounds to close the file prematurely.
How do you perform thorough roof damage documentation and assessment?
Thorough documentation is the backbone of every successful roof storm damage repair claim. Damage at seals, flashings, and valleys is often invisible from the ground, meaning a ground-level visual check is never sufficient. A professional inspection, supported by photographic or drone evidence, is the standard that insurers expect.
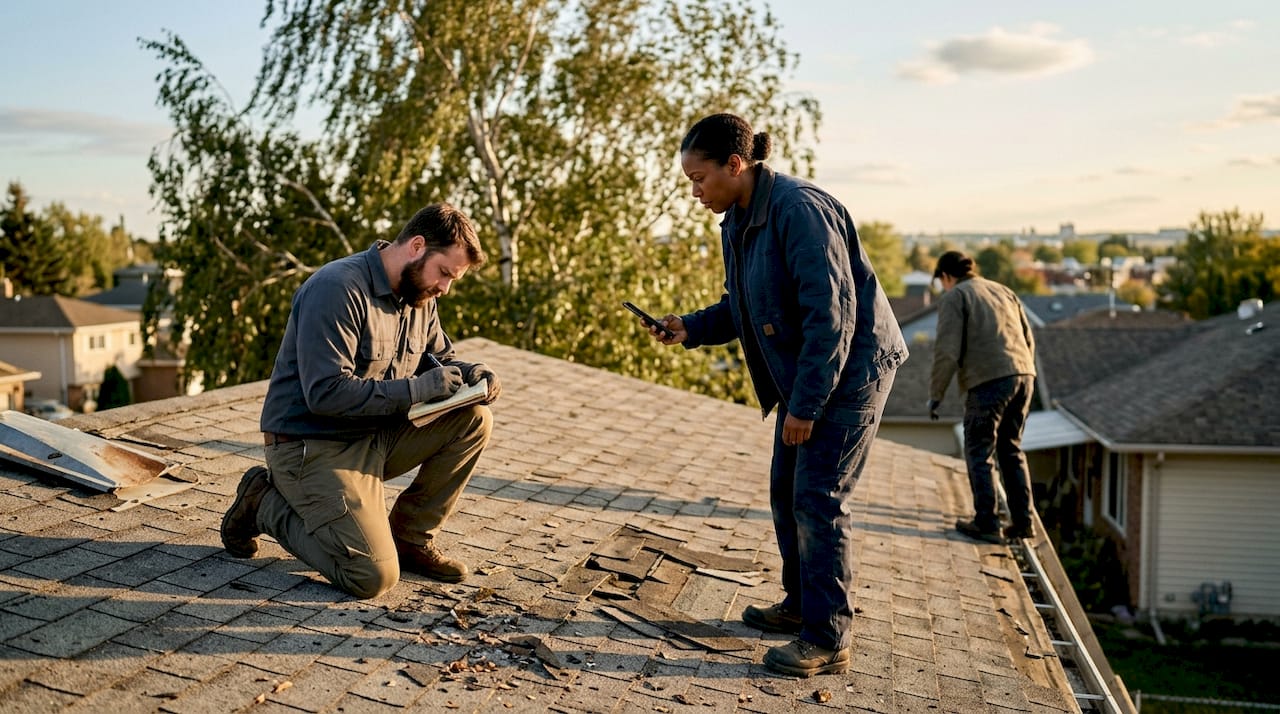
Pro Tip: Use your phone’s timestamp feature or a dedicated field documentation app to embed date and time data directly into each photo. Insurers can and do challenge undated images.
For property managers overseeing multi-unit buildings, a grid-based approach is the most reliable method. Dividing each roof into 500 sq ft quadrants labeled by building and elevation reduces insurance submission delays by up to 60%. Each quadrant becomes its own evidence folder, making it easy to match damage photos to specific roof sections during adjuster review.
What to look for during a roof evaluation
- Shingles and surface material. Check for missing, cracked, or bruised shingles. Hail impact leaves circular indentations that are easy to miss on a quick pass.
- Flashings and seals. Inspect all roof penetrations, including vents, chimneys, and skylights. Lifted or cracked flashing is a primary source of hidden leaks.
- Fasteners and ridge caps. Exposed or backed-out fasteners indicate wind uplift damage that may not be visible from the surface.
- Gutters and downspouts. Dented gutters and granule accumulation in downspouts confirm hail impact and shingle degradation.
- Membrane and decking. On flat roofs, look for punctures, blistering, and standing water. On sloped roofs, soft spots in the decking signal water infiltration.
| Damage type | Inspection method | Documentation standard |
|---|---|---|
| Missing shingles | Visual and drone imaging | Photo per affected section |
| Flashing damage | Close-up inspection | Photo with measurement reference |
| Hail bruising | Hand press test on shingles | Grid-mapped photo set |
| Membrane puncture | Walking inspection on flat roofs | Quadrant-labeled photo |
| Decking soft spots | Probe or contractor assessment | Written report with location notes |
AI-driven documentation tools reduce claim processing time by 30–40% on multi-family properties. That efficiency gain comes from consistent image labeling and automated report generation, not from replacing the physical inspection itself.
What are best practices for navigating insurance claims in roof storm damage workflows?
Filing your First Notice of Loss (FNOL) within 48–72 hours of the storm is the single most important timing decision in the entire workflow. Early filing triggers adjuster scheduling, which typically runs 7–14 days after the notice for standard events and 3–6 weeks after major regional disasters. Missing this window does not void your claim, but it does push your timeline back significantly.
A complete claim package contains more than photos. Time-stamped photos, maintenance logs, material specs, and documented emergency repairs all improve claim speed and outcomes. Maintenance logs matter because they demonstrate that pre-existing wear was not the cause of the damage. Material specs help the adjuster price replacement accurately.
Pro Tip: Request a written scope of work from your contractor before the adjuster visit. A contractor who can hand the adjuster a detailed damage report on-site prevents undervaluation before it happens.
- File FNOL within 48–72 hours of the storm event.
- Compile a claim package with photos, maintenance records, and emergency repair receipts.
- Have a licensed contractor present during the adjuster inspection.
- Request a written adjuster report and review it line by line.
- Dispute line items in writing if the scope appears incomplete.
Having a trusted contractor present during the adjuster inspection allows real-time technical clarification and reduces the risk of damage undervaluation. This is one of the most underused advantages available to homeowners. The contractor can point to specific damage indicators that a general adjuster might overlook, such as hail bruising on flashing or lifted membrane edges on a flat roof. You can learn more about roofers in Texas insurance claims to understand exactly how this coordination works.
The difference between direct filing and using a public adjuster comes down to complexity. For straightforward single-family claims, direct filing with your insurer is faster. For large commercial properties or disputed claims, a public adjuster who works on your behalf can recover more value, though their fee typically runs 10–15% of the settlement.
How to decide between emergency repairs, targeted repairs, or full replacement
The repair-versus-replace decision is the final major phase in the workflow for roof repairs, and it depends on three factors: damage extent, roof age, and material integrity. Getting this decision wrong in either direction costs money. Over-repairing a failing roof delays an inevitable replacement. Replacing a roof that needed only targeted repairs wastes budget.
Storm damage exceeding 25% of the total roof area typically leads to a recommendation for full replacement rather than patching. The reason is material integration: new patches on aged shingles or membrane do not bond or perform the same way as a uniform system. Insurance adjusters and contractors both use this threshold as a standard decision point.
Pro Tip: Ask your contractor to provide a written comparison of the 10-year cost of repair versus replacement, factoring in your roof’s current age and material condition. This document also strengthens your case if you need to escalate a claim dispute.
- Emergency stabilization only. Use tarping and temporary sealing when the storm is recent and the permanent scope is not yet determined. Document all temporary work.
- Targeted repair. Appropriate when damage is localized to one section, the roof is less than 15 years old, and the surrounding material is in good condition.
- Full replacement. The right call when damage covers more than 25% of the roof area, the system is near end of life, or multiple previous repairs have already compromised the deck.
Temporary tarping must transition to a permanent repair scope request quickly. Insurers can close a claim if only emergency work is on file and no permanent repair has been requested. Push your contractor to submit a full scope of permanent work to the insurer before the emergency stabilization period ends. For a detailed look at hidden roof storm damage that affects this decision, a professional assessment is always the safest path.
Key Takeaways
A successful storm damage roof workflow requires safety first, thorough documentation, timely insurance filing, and a clear repair-versus-replace decision based on damage extent and roof age.
| Point | Details |
|---|---|
| File FNOL within 48–72 hours | Early filing triggers adjuster scheduling and protects your claim timeline. |
| Document before you mitigate | Time-stamped photos taken before cleanup are the strongest insurance evidence. |
| Use grid-based documentation | Quadrant labeling cuts insurance submission delays by up to 60% on multi-unit properties. |
| Bring a contractor to the adjuster visit | On-site technical clarification prevents damage undervaluation before it is written into the report. |
| Apply the 25% threshold | Damage covering more than 25% of roof area typically justifies full replacement over patching. |
What I have learned from watching storm damage workflows go wrong
The most consistent failure I see is not bad luck. It is the homeowner or property manager who treats the storm as a construction problem before treating it as a documentation problem. They call a contractor, get the roof tarped, and feel like they have handled it. Then the adjuster arrives, finds no pre-repair photos, and writes a scope that covers half the actual damage.
Standardized inspection forms and uniform repair thresholds are not bureaucratic overhead. They are the difference between a fast, accurate claim and a six-month dispute. Property managers who run multiple buildings and have never built a standard documentation protocol are one bad storm season away from a serious financial problem.
The other mistake I see regularly is premature permanent repair. A contractor patches the roof before the adjuster has visited, and suddenly the insurer argues that the damage was minor because the repair was minor. Temporary stabilization exists for a reason. Use it, document it, and do not let anyone talk you into skipping the adjuster step to “save time.”
My honest advice: treat your roof documentation the same way you treat a legal record. Every photo needs a timestamp. Every repair needs a receipt. Every contractor conversation about scope needs to be in writing. That discipline costs you nothing before a storm and saves you thousands after one.
— Results
Misterreroof is ready to help with your storm damage recovery
Texas storms move fast, and so does the window for protecting your claim and your property. Misterreroof works with homeowners and property managers across El Campo and Houston to manage every phase of the storm damage process, from emergency stabilization through final installation.

Whether you need a full roof replacement guide built for Texas conditions or a step-by-step replacement plan for 2026, Mister reroof has the resources and field experience to back you up. The team installs metal, shingle, flat, and TPO roofing systems with the durability Texas weather demands. Contact Misterreroof today for a free estimate and get a licensed professional on your roof before the next storm season arrives.
FAQ
What is the first step in a storm damage roof workflow?
The first step is personal safety and emergency water mitigation, not permanent repair. Contain interior leaks, deploy temporary tarping if needed, and document all damage with time-stamped photos before any cleanup begins.
How soon should I file a storm damage insurance claim?
File your First Notice of Loss within 48–72 hours of the storm. Early filing schedules your adjuster inspection within 7–14 days for standard events, protecting your claim timeline.
How do I know if my roof needs repair or full replacement?
Damage covering more than 25% of the total roof area typically warrants full replacement over patching. Roof age, material condition, and the extent of deck damage are the three factors that drive this decision.
Why should a contractor be present during the adjuster inspection?
A licensed contractor can provide real-time technical clarification that prevents the adjuster from undervaluing damage. This is especially important for hidden damage at flashings, seals, and roof penetrations that a general adjuster may overlook.
What documentation do I need for a roof storm damage claim?
A strong claim package includes time-stamped photos taken before any repairs, maintenance logs, material specifications, emergency repair receipts, and a written scope of permanent work from your contractor.
